
Introduction
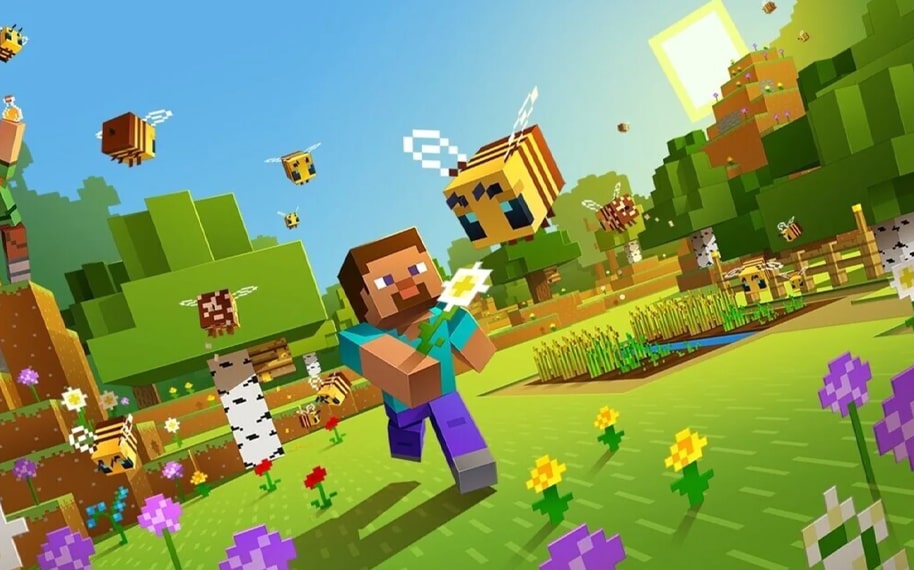
Minecraft is a game that offers players a creative approach to an open world concept. Released in 2009 as a demo, it quickly gained in popularity amongst children and was even integrated as part of many educational programs. This appeal mainly stemmed from the open possibilities the game offered. It means kids of any age could create their own adventure and not be limited by any factors such as skills or abilities. Do not be fooled by its basic looks however. The game integrates multiple modes such as survival mode where players compete for resources and fight monsters. Creative and adventure modes are for those looking for freedom and customizations. There’s even a modding community of people that share countless varieties of gameplay and minimaps. Despite its simple Lego-looking appearance, Minecraft offers a rich immersive experience which makes it one of the best-selling games of all time. It can be a bit overwhelming for beginners but following this guide can help you survive the first few nights as you dive into this rich world.
Basic Controls and Gameplay
Minecraft is a versatile game which is available on all major platforms including smartphones. For the sake of this guide however we’ll focus on the PC. Once you know the basics, it’s pretty much the same for all other platforms. After installing the game you’ll begin with a huge empty canvas. Imagine it has transported you to the stone age and you must gather materials from scratch to build yourself a shelter, get food, build a bed and survive until the next day. As you play, the subsequent levels of sophistication expose you to more possibilities. You can begin mining for valuable resources to create tools, weapons, and armor. The more you explore this virtual world you’ll encounter villages, hidden chests with loot, and fight monsters.
Let’s go through some basics before we begin. Launch Minecraft as a Single-player and then click Create New World. You can choose Peaceful Mode to practice until you feel you’ve gained a comfortable handle on the controls. The real deal however is playing Survival mode where you have to demonstrate survival skills by gathering resources.
Vision is simply controlled with the mouse to allow you to look upward, downward, left or right. With right-click you can use or interact with objects, and left-click to attack or hold down to mine. The AWSD keys on your keyboard on the other hand is what you need to move your character. Respectively left, forward, backward and right in that order. Being able to have 360 degree peripherals gives you the liberty to interact with your environment, such as blocks and other creatures. Be cautious of your movement as you can potentially plunge to death if you fall more than three blocks high. Water can also drown you if you fail to swim to the surface and lava will just melt you away.
Your character can also sprint by double-tapping and holding the W key to go forward, or pressing Ctrl at the same time as you move. Keep in mind this will require you more energy. To jump, you need to hit the Spacebar. It requires proper gaging of distance with blocks so the more you practice the better you’ll get the hang of it. Left Shift allows you to crawl and lower your viewpoint. This can come in handy whenever you need to sneak on something. The Q key causes your character to pick items up or throw them. Also useful when trading with other players. Hit E to open/close inventory and pressing 1 to 9 to get equipped. Esc lets you pause the game or view the menu.
Finally, you can view these controls and more options by pressing Esc to go to the menu, then choose Controls under Options. Customizing your controls as you see fit is also possible. Now let’s take these controls for a test drive. Move close to a tree and hold the left mouse click. Yes, you’re actually punching a tree. Once broken, collect the log pieces on the ground.
Interacting With the Environment
Objects in the game are represented with cubical blocks. You can interact with blocks when you are in proximity by targeting them. Pressing the left-click on the mouse will hit your point of focus and what is mainly used for attacking as well. When you hold down the button your character will continuously hit the target until it’s broken, turning them into materials for collecting. The simplest blocks you can harvest with no special tools are wood and dirt, which can be done with your bare hands. When you play from the start, punch trees and collect basic material so you can later on make your own tools and become more efficient at collecting items.
To use an item you’re holding, simply right-click while pointing at something. Sometimes you can just use the item if you aren’t pointing at anything in particular. Try experimenting with blocks of wood or dirt as these are simpler objects in the beginning. The same button also allows you to interact with another character when you need to trade items. Other items good paying attention to are dropped seeds from tall grass. These can be planted and harvested to bake your own food needed for sustenance and energy to run around. Once you’ve mastered the basics, the game gives you the possibility to take it to the next level by farming for vegetables, trees, mushrooms, cacti, sugar cane and even cocoa beans.
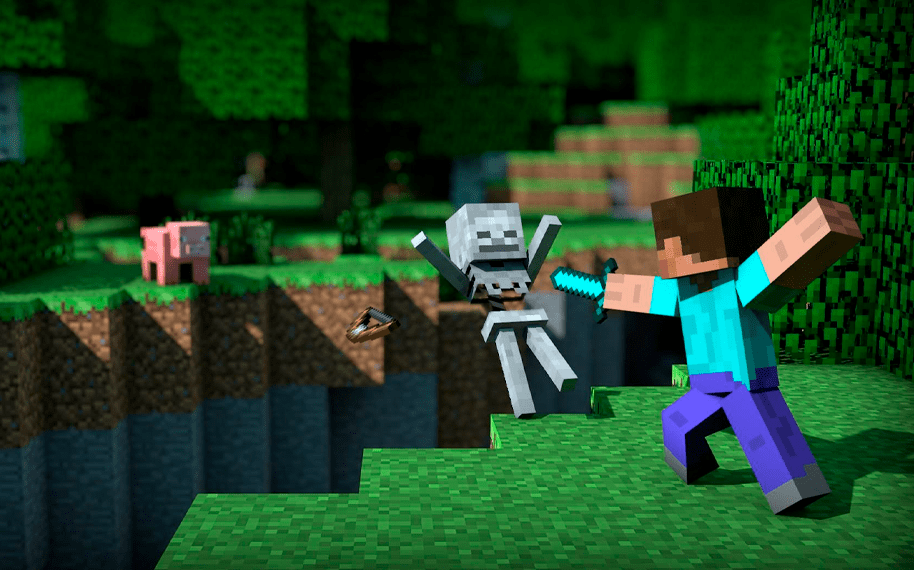
Getting comfortable with the combat techniques will ensure you thrive in Minecraft. A system of points is attributed to the degree of damage a tool can inflict. For example, a sword wields more damage than a shovel, or a pickaxe. Using bare-knuckles can also deliver a good blow to enemies. Keep in mind, however, that tools aren’t indestructible due to limited durability. With each use, a tool’s durability score will go down the more you hit things with it. The status bar showing the level of uses left will start green and turn red when it’s about to break. For defense purposes, you can also block attacks using a shield. But to carry this item you must mine iron ingots to build a complete one. To use a shield simply right-click on your mouse button.
You can mine and craft pretty much everything in the game. Knowing how to interact with the environment, crafting objects, is key to boss this game. Start with basic objects first. Logs, for example, are easy to gather and craft in the early stages. You can use them to build crafting tables and torches. The latter can be handy to prevent mobs near you. Buckets are handy to collect water or lava. Once you’ve got a good handle on these, you can move up to mining and craft with stone, iron, diamond and even gold. Creating increasingly complex objects and systems. There’s even a recipe book that tells you what you need to build certain items.
Inventory and Crafting
As mentioned earlier, hitting the E key will bring up the inventory window, with a choice from 1 to 9 to allow for slot selection, called a hotbar. There are more slots available but are hidden until you pick up the first few items. Once the main hotbar is full, the items move into an additional 27 slots of the main inventory. You can also use the mouse wheel to browse through your inventory. A stack is typically a collection of items of the same type. Some can be stacked to 16 and others can go up to 64. Note that you cannot stack tools and armor. You can also get rid of an item from the inventory by dropping it with the Q key. One thing to be cautious of while being inside your inventory window is that you remain vulnerable because it doesn’t pause the game.
While inside the inventory screen, it shows an image of your character with the current appearance. To the left you’ll see four allotted slots for any worn armor. On the right you’ll see a slot marked with a shield referred to as the “offhand slot” which can contain any item. Below are the 27 slots of the main inventory. Items can be moved from these slots to the hotbar and back. You can also drop an item from the inventory by moving it out of the window completely just like the Q button. The limit for which a player can carry inventory adds up to 36 slots in total. No matter how much you carry around, there is no sense of heaviness or lack of speed. The only limiting factor is the amount of items in the inventory so you cannot pick up more after reaching this limit.
Added to your inventory screen is an additional assortment of 2×2 squares that serves as the crafting grid. Here you’ll find the Recipe Book mentioned earlier that tells you what you need to craft certain items. Generally, the first few crafts will require that you add a log of wood to the crafting grid. This will show you a stack of wooden planks in the output slot, which you can then take and put in one of the four slots. The output slot will then show you a crafting table which you can place in the hotbar and out in the world so you can create more advanced items. When you right-click to use the table, you’ll notice another inventory window but with a 3×3 crafting grid. This in turn opens up the possibility to create increasingly more recipes with its own Recipe Book. The more you play, the more you’ll become familiar with different recipes.
Once you get comfortable with the crafting process, your next move is to build some of the basic tools that allow optimizing the gathering of resources. Pickaxes for mining, axes for cutting trees, shovels for digging dirt, hoes for preparing soil for seeds, and swords for attacking mobs.
Mining Ore
Now that you’ve mastered the basics and survived a few nights, it’s time to take your A game to the next level. Knowing how to collect and craft ores is a fundamental skill you’ll need to achieve in order to carry items like weapons, armor and upgraded tools. A variety of them exist such as coal, iron, gold, diamond, Redstone, lapis lazuli and emerald. These are all found in mines, but first let’s take a quick look at their strategic utilities.
Coal is the most basic and bountiful ore in the game. This mineral is essential to craft torches, cooking food and smelting. It’s usually found on mountains and down to the substratum layer. Best tool to mine it with is a pickaxe.
Iron ore is the second most abundant mineral. Unlike coal, which is ready to use in its raw form, iron needs to be smelted in a furnace. It is used to craft a multitude of tools, making it a must have essential. Basic items such as armor, weapons and many more advanced forms can be built.
Diamond, Gold, Lapis Lazuli, Redstone are rare ores, with Emerald being the rarest. They don’t require smelting except for gold and can all be used to build advanced items. Keep referring to your Recipe Book to see all the possibilities.
Now that you’ve gained some familiarity with ores let’s look at the mining process. Just as you would walk prepared into a mine in real life, the same thing goes inside the game. This means you have to be properly equipped with the right tools such as a pickaxe, food for sustenance, torches to see your way through, and even a ladder to aid you in going up or down. Other items can also be brought into the mine to make your experience less miserable.
You can pretty much dig wherever, however and anywhere you want. But having a digging strategy will avoid wasting time and truly tap into the originality of this game. Here’s a few mining techniques to consider. If you like simplicity, dig a horizontal mine which consists of a series of organized tunnels. Not effective but if you stack them chances are, you can find some ore. For efficiency, opt for vertical mining which comprises digging in layers, similar to a stairway, by placing ladders on each level. This method is effective for gathering ores that exists on multiple layers like coal and iron. If you’re greedy and want to collect the absolute maximum amount of ore, then a quarry is what you need. It’s a labor intensive endeavor because it requires you to dig significantly large openings. However you’ll be rewarded with all the ores you can find including diamonds.
Mining can be time-consuming. However, you can generate material like cobblestone without needing to dig endlessly. Generators can easily be created to help you churn building blocks in as little time. They also take little space and can provide you with towering walls that help you protect against mobs.
Enchanting and Blacksmithing
At this stage of the game you should be pretty comfortable and knowledgeable with mining, crafting, fighting and catching animals. As you progress through the game, the need to upgrade your tools and increase their efficiency is a turning point in order for you to advance. You’ll also notice you’ve gained quite a lot of experience represented by green orbs on a meter right above your quick access bar. The game doesn’t really make it clear on what this is but it’s essentially a magic reserve. When used, it can “enchant” tools, weapons, armor as well repair them. The process takes place on what is called an enchantment table.
To get started, you’ll need first and foremost diamonds for the enchantment table recipe. You’ll also need obsidian, which can be obtained by pouring water over lava. Finally, you’ll need to craft a spell book by obtaining leather and paper. Once you have all these elements, you can combine the diamond and obsidian into an enchantment table. Placing an item beneath the book in a slot opens a display of enchantments in a weird language which actually describes a function. Once the item is on the enchantment table, click on one of the three enchantments. The book closes and the item will glow with the power of the new enchantment.
Enchantments have six different levels, 6 being the highest. In order to move up and increase the power of your spells, you must accumulate and enhance your books by building bookshelves that will store your collection of created books, for a maximum of 15 bookshelves.
As a final note, remember that you will lose all that accumulated experience. You can partially recover it after death but not fully. A good tip here to store experience is to enchant books, which can be stored in a chest for later application. Also, there’s an element of randomness to what you obtain through enchantments. Use a Grindstone (made from two Sticks, one Stone Slab, and two Planks) to undo the enchantments.
As you know by now, tools get worn out with each use. Luckily you can repair and restore your tools to their full capacity by crafting an anvil. You’ll be able to build one by checking the recipe book but it’s pretty much just iron ingots. Once complete, you can repair, rename, combine and even enchant items. Repairing items works for the most part, but not with all the items. Renaming an item comes with a cost of one level plus any prior-work penalty. Enchanted books can be combined to generate higher-level books. This makes the anvil the counterpart to an enchantment table.
Keep in mind that an anvil can also get damaged with regular wear and tear usage. You can’t repair an anvil so your only option is to rebuild a new one each time. Keep that recipe handy. You can also use an anvil as a weapon like in Loony Toons. Drop that sucker on a mob and dish out a maximum of 40 damage.
Tips and Tricks
The following tips can benefit any Minecraft player whether you’re a seasoned player or a noob. These advanced strategies will warrant you with even more of an amazing experience.
Mining: being a major part of the game, you’ll need to mine for pretty much anything and move beyond basic tools. However, randomly hacking at things with a pickaxe and making craters everywhere will waste your time and energy. Hence why you need to strategize your mining effort. For example, avoid digging in a linear downward fashion. This will ultimately lead you to your doom by falling through a hidden cave which would make getting your gear back very hard, or worse, fall into lava and lose everything beyond recovery. Try digging in a spiral pattern when moving downward. When you reach the bottom like the bedrock layer, use the horizontal mining technique by digging in a straight line from a given point. From there, fork and intersect in each direction to expand your digging scope without too much risk.
Avoiding water and lava: coming up against these fatal elements can be exasperating. Whether you unexpectedly cause a flood in a mine or expose lava, you must be prepared to handle these sudden encounters. The best and easiest strategy in dealing with a lava leak is to simply plug a hole with any type of cobblestone. Keep them handy in your quick bar so you can immediately grab one and drop it there. You have but a few seconds to do this, so be prepared. Handling water leaks is pretty much the same way. One trick not to drown is placing a door or a torch on a flat surface on the ground, which will create an air pocket, eliminating the need to swim back to the surface.
Recipe Book: a very resourceful tool compared to the early days where you had to go through trial and error, and recipes were only known to a handful of people. The newer versions of the game will show you what you can craft with whatever ingredients you currently have in your possession. It also gives you a sense of what you need to collect in order to craft objects for later usage. Take full advantage of the recipe book as it will play a major role in your success in Minecraft.
Spawning: upon your arrival in this fresh new world, make it a point to find a safe place where you can respawn with no threats. You will initially emerge randomly in a place that’s arbitrarily selected by the game. This is your default spawn location when you run into a deadly encounter. Establish your home base by building a bed out of three wool and three planks, and use this to lock down your spawn point. Note that your bed has to be in a safe spot and not damaged or destroyed otherwise you risk dying before making another one or worse, being sent to your original spawn location.
- 9.7Total Score
A critically-acclaimed, award-winning game with a cult following, Minecraft is the classic of classics.
- THE GOOD
- Memorable blocky graphics
- Complex crafting system
- Creative freedom and open-ended gameplay
- Potential for endless adventures with friends
- Great for children and adults alike
- THE BAD
- Occasional visual glitches
- Setting up multiplayer servers can be a hassle